
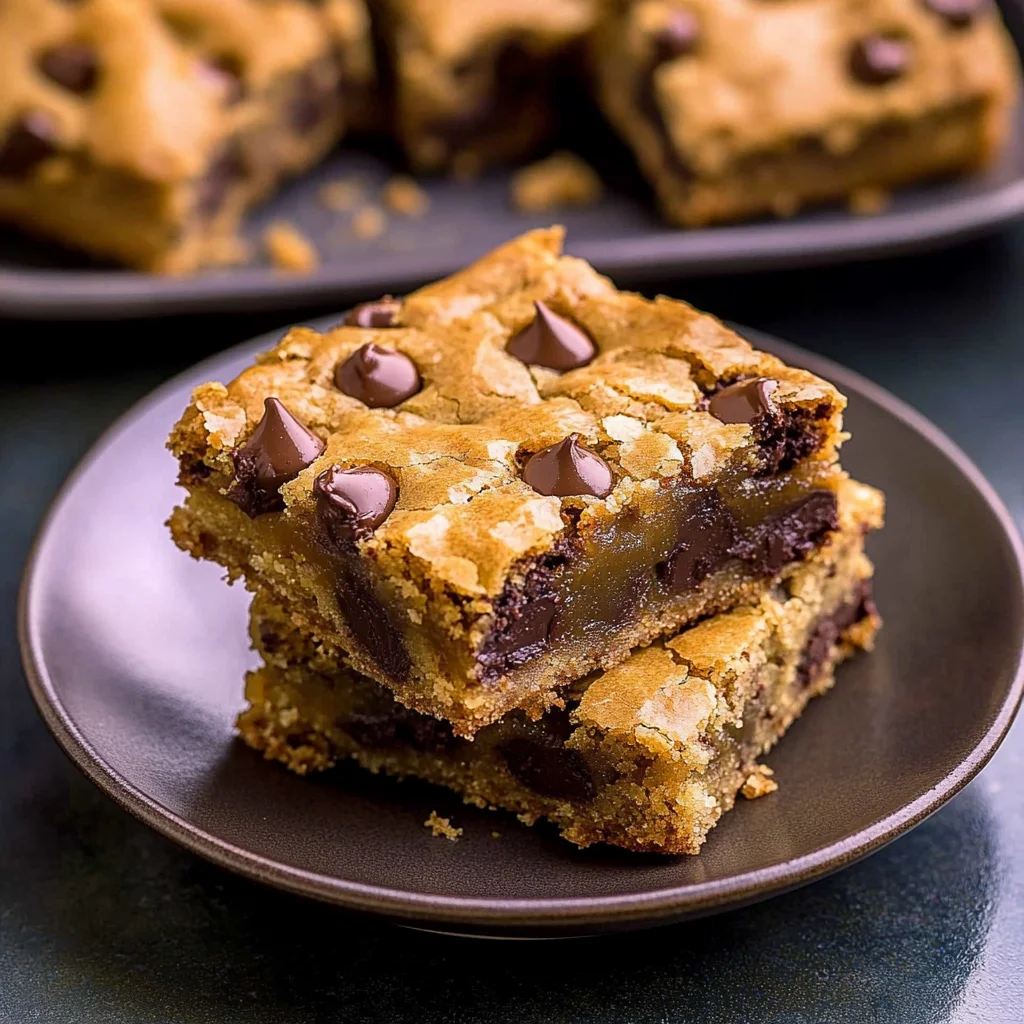
Imagine sinking your teeth into a warm, gooey cookie bar, where the sweet aroma of melted chocolate mingles with the rich scent of toasted nuts, creating an irresistible invitation for your taste buds. These cookie bars are not just desserts; they are a nostalgic reminder of bake sales and family gatherings, where each bite offers a chewy texture that hugs your senses and brings smiles all around.
Whether you’re whipping them up for a cozy night in or as a crowd-pleasing treat at a party, these cookie bars promise to deliver an explosion of flavors that will have everyone reaching for seconds. With every mouthful, you’ll experience the comforting blend of buttery goodness and delightful crunch, making them the ultimate indulgence for any occasion.
Why Is cookie bars So Irresistibly Good?
Chewy texture: These cookie bars boast an incredibly chewy consistency, making each bite a delightful experience.
Rich flavors: With butter, brown sugar, and a hint of vanilla, every bar is loaded with deep, rich flavors that will have you craving more.
Easy to make: In just 15 minutes prep, you’ll be on your way to enjoying these treats without the hassle of traditional cookies.
Customizable goodness: Add your favorite nuts or extra chocolate chips for a personal twist—these cookie bars are as versatile as they are delicious!
Perfect for sharing: Whether it’s a party or a cozy night in, these cookie bars are the ultimate crowd-pleaser, perfect for sharing with friends and family.
cookie bars Ingredient List
- 1 cup unsalted butter (softened) – Make sure your butter is at room temperature for easy mixing and a creamy texture.
- 1 cup brown sugar (packed) – This adds moisture and a rich caramel flavor to your cookie bars.
- 1/2 cup granulated sugar – Balances the sweetness and helps achieve that wonderful chewy texture.
- 2 large eggs – These provide structure and moisture, making your cookie bars delightfully soft.
- 2 teaspoons vanilla extract – Enhances the overall flavor, bringing out the sweetness of the chocolate chips.
- 2 cups all-purpose flour – The base of your cookie bars; be sure to spoon it into the measuring cup for accuracy.
- 1 teaspoon baking soda – This leavening agent helps your cookie bars rise slightly while keeping them chewy.
- 1/2 teaspoon salt – Balances the sweetness and enhances all the flavors in your delicious cookie bars.
- 1 cup chocolate chips – Feel free to use semi-sweet or dark chocolate for an extra indulgent treat!
- 1/2 cup chopped nuts (optional) – Add some crunch and nutty flavor to elevate your cookie bars, if desired.
Directions: cookie bars

1. Preheat the oven to 350°F (175°C) and grease a 9×13 inch baking pan. This ensures your cookie bars will bake evenly and won’t stick to the pan.
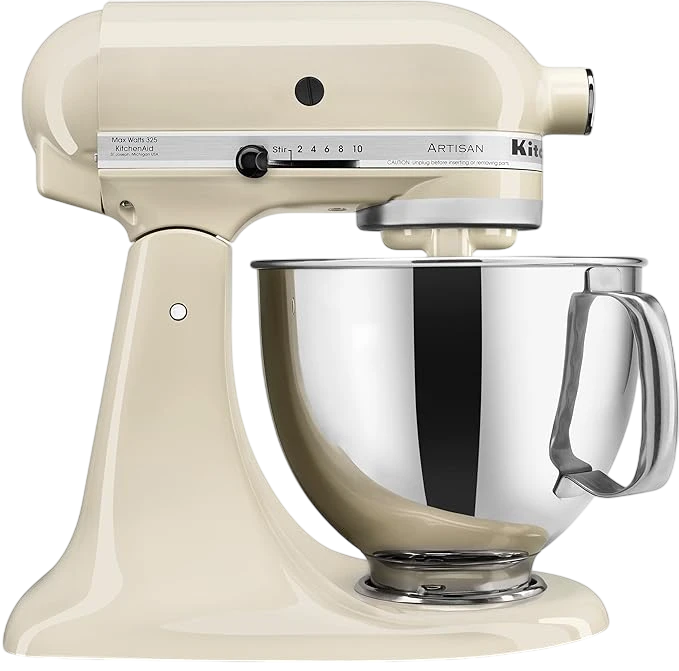
2. Cream together the softened butter, brown sugar, and granulated sugar until smooth in a mixing bowl. This mixture should be light and fluffy, creating a lovely base for your delicious cookie bars.
3. Beat in the eggs one at a time, then stir in the vanilla extract. This adds richness and flavor; your batter will start smelling delightful!
4. Whisk together the flour, baking soda, and salt in a separate bowl. Incorporating these dry ingredients properly will ensure your cookie bars have just the right amount of rise.
5. Gradually add the dry ingredients to the wet ingredients, mixing until just combined. Be gentle here; over-mixing can make your cookie bars dense instead of chewy.
6. Fold in the chocolate chips and nuts if using. The gooey chocolate and crunchy nuts create a wonderful texture contrast in every bite of these delightful treats.
7. Spread the batter evenly into the prepared baking pan, ensuring it reaches all corners for even baking. Your cookie bars will bake beautifully with this careful step.
8. Bake in the preheated oven for 20-25 minutes, or until the edges are golden and a toothpick inserted in the center comes out clean. Keep an eye on them; you want that perfect golden hue!
9. Allow to cool in the pan before cutting into bars. Patience is key here—the cooling process helps set those delicious flavors!
Optional: Drizzle with melted chocolate for an extra touch of indulgence.
Exact quantities are listed in the recipe card below.
Expert Tips
- Butter Softness: Ensure your butter is truly softened, not melted, for the perfect chewy texture in your cookie bars.
- Sugar Mixing: Cream both sugars with the butter thoroughly; it creates air pockets that help the bars rise beautifully.
- Egg Incorporation: Add the eggs one at a time and mix well after each addition to ensure an even consistency throughout your cookie bars.
- Flour Measurement: Spoon and level your flour when measuring; too much flour can lead to dense cookie bars.
- Baking Time: Keep an eye on the baking time as ovens vary; check 2-3 minutes early to avoid overbaking.
- Cooling Patience: Allow cookie bars to cool completely in the pan before cutting them for clean, perfect squares.
How to Store and Freeze cookie bars
Room Temperature: Keep your cookie bars in an airtight container at room temperature for up to 3 days for the best texture and flavor.
Fridge: If you’d like to extend their freshness, store cookie bars in the fridge for up to a week, ensuring they’re well-wrapped to prevent drying out.
Freezer: For longer storage, freeze cookie bars wrapped tightly in plastic wrap and aluminum foil for up to 3 months. Thaw in the fridge before enjoying.
Reheating: To enjoy warm cookie bars again, pop them in the microwave for about 10-15 seconds, or heat in a preheated oven at 350°F (175°C) for 5-7 minutes.
cookie bars Your Way
Feel free to unleash your creativity and customize these delightful treats to match your cravings!
- Nut-Free: Replace the chopped nuts with an extra 1/2 cup of chocolate chips for a double chocolate delight. You’ll still get that rich, chewy texture without the crunch.
- Gluten-Free: Substitute all-purpose flour with a 1:1 gluten-free baking mix. This way, everyone can enjoy the gooey goodness of these cookie bars without any worries.
- Oatmeal Twist: Add 1 cup of rolled oats to the dough for a hearty texture and nutty flavor. The oats will give your cookie bars an even more satisfying chew.
- Dark Chocolate: Use dark chocolate chips instead of semi-sweet for a richer, deeper flavor. This variation brings a sophisticated touch to your sweet treat.
- Spicy Kick: Mix in 1 teaspoon of cinnamon or a pinch of cayenne pepper for warmth. The hint of spice will surprise and delight your taste buds in every bite.
- Dried Fruit: Incorporate 1/2 cup of dried cranberries or cherries for a burst of fruity sweetness. This addition complements the chocolate beautifully and adds a chewy contrast.
- Coconut Bliss: Fold in 1/2 cup of shredded coconut for tropical flair. The coconut will add both texture and a hint of sweetness that pairs wonderfully with chocolate.
- Peanut Butter Swirl: Drop spoonfuls of peanut butter into the batter before baking and swirl it gently. This creates beautiful marbled patterns and adds a creamy richness that elevates the entire bar.
Make Ahead Options

These delicious cookie bars are perfect for meal prep, allowing you to enjoy a sweet treat without the rush. You can prepare components like the softened butter, brown sugar, and granulated sugar in advance—just keep them stored in the fridge for up to 3 days. Additionally, you can whisk together the flour, baking soda, and salt ahead of time and store them in an airtight container for up to a week. When you’re ready to bake your cookie bars, simply preheat your oven to 350°F (175°C), cream the prepared butter and sugars, beat in the eggs and vanilla, mix in your dry ingredients, fold in chocolate chips and nuts if desired, spread it into your baking pan, and bake for 20-25 minutes. Allow them to cool before cutting into bars, ensuring they remain chewy and delightful! This way, you can enjoy freshly baked cookie bars at any moment with minimal effort.
cookie bars Recipe FAQs
What type of butter should I use for the cookie bars?
You should use unsalted butter, softened to room temperature. This allows for easy creaming with the sugars, ensuring a smooth batter. If you’re out of unsalted butter, you can use salted butter but reduce the added salt in the recipe to avoid overpowering flavors.
Can I substitute the brown sugar in this recipe?
While brown sugar adds moisture and a rich flavor to your cookie bars, you can substitute it with white granulated sugar if necessary. However, this will change the texture slightly—your bars may be less chewy and more cake-like. For a closer alternative, consider using coconut sugar or even a blend of white and brown sugar.
How should I store leftover cookie bars?
Store your cookie bars in an airtight container at room temperature for up to 3 days. If you want to keep them fresh longer, you can refrigerate them for about a week. Just be sure they’re fully cooled before sealing them up!
Can I freeze cookie bars for later enjoyment?
Absolutely! These delicious cookie bars freeze beautifully. Wrap them tightly in plastic wrap or aluminum foil and place them in an airtight container or freezer bag. They can be frozen for up to 3 months. When you’re ready to enjoy them, simply thaw at room temperature for about 15-30 minutes.
What if my cookie bars are too dry after baking?
If your cookie bars turn out dry, it could be due to overbaking or measuring flour incorrectly. Always check your cookies around the 20-minute mark by inserting a toothpick in the center; they should come out clean but not dry. Remember, they’ll continue cooking slightly after being removed from the oven.
How do I adjust the serving size if I need more or fewer cookie bars?
This recipe yields about 12 generous servings. If you need more, simply double the ingredients and bake in two pans or increase the pan size accordingly. If you want fewer servings, feel free to halve the ingredients; just keep an eye on baking time as smaller batches may cook faster!