
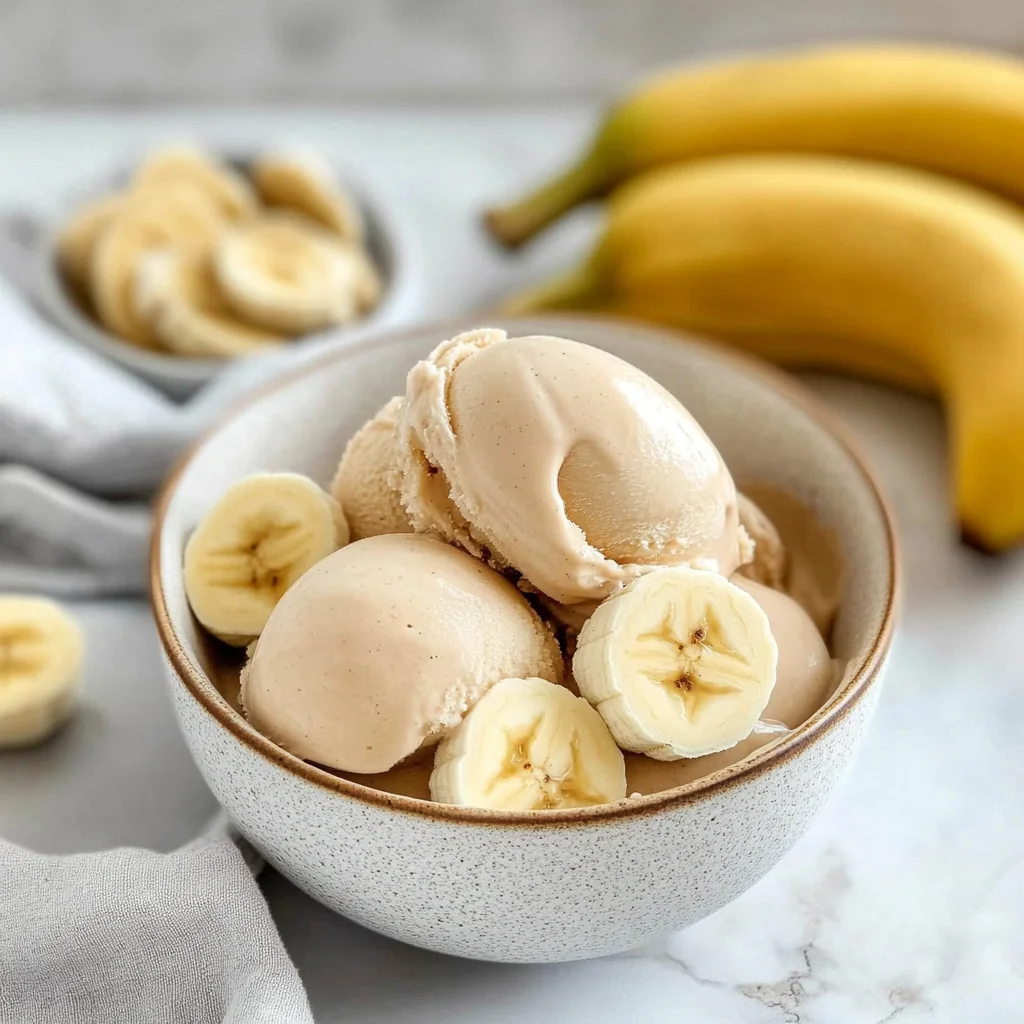
Imagine the blissful moment when you scoop into a bowl of creamy banana ice cream, each spoonful bursting with the sweet aroma of ripe bananas mingling with a hint of vanilla. The texture is velvety smooth, melting effortlessly on your tongue, making it the ultimate indulgence for a warm summer afternoon or a cozy movie night in.
This banana ice cream recipe not only brings back fond memories of childhood summers spent chasing down ice cream trucks but also transforms simple ingredients into a delightful treat that everyone can enjoy. It’s perfect for sharing with friends at a backyard barbecue or savoring alone while binge-watching your favorite series, promising an unforgettable flavor experience that will leave you craving more.
Why Does Everyone Love banana ice cream recipe?
Creamy texture: The combination of ripe bananas and coconut milk creates an irresistibly smooth and creamy dessert.
Natural sweetness: With just a touch of honey or maple syrup, you’ll enjoy a naturally sweet treat without refined sugars.
Quick prep: Ready in just 10 minutes, this recipe is perfect for those last-minute cravings.
Versatile base: Easily customize with add-ins like chocolate chips or nuts, making it fun for the whole family.
Healthy indulgence: Packed with vitamins and minerals, this banana ice cream is a guilt-free way to satisfy your sweet tooth!
Ingredients for banana ice cream recipe
- 4 ripe bananas (peeled and sliced) – Choose bananas that are speckled for a naturally sweet flavor and creamy texture in your ice cream.
- 1 tablespoon lemon juice (to prevent browning) – This will help keep your bananas looking fresh and vibrant while adding a hint of brightness to the flavor.
- 1 cup coconut milk (or any milk of choice) – Coconut milk adds a rich creaminess, but feel free to substitute with almond, oat, or regular milk as per your preference.
- 1 tablespoon honey (or maple syrup for vegan option) – Sweeten your banana ice cream recipe naturally; honey gives a lovely floral note while maple syrup is perfect for vegan diets.
Step-by-Step banana ice cream recipe
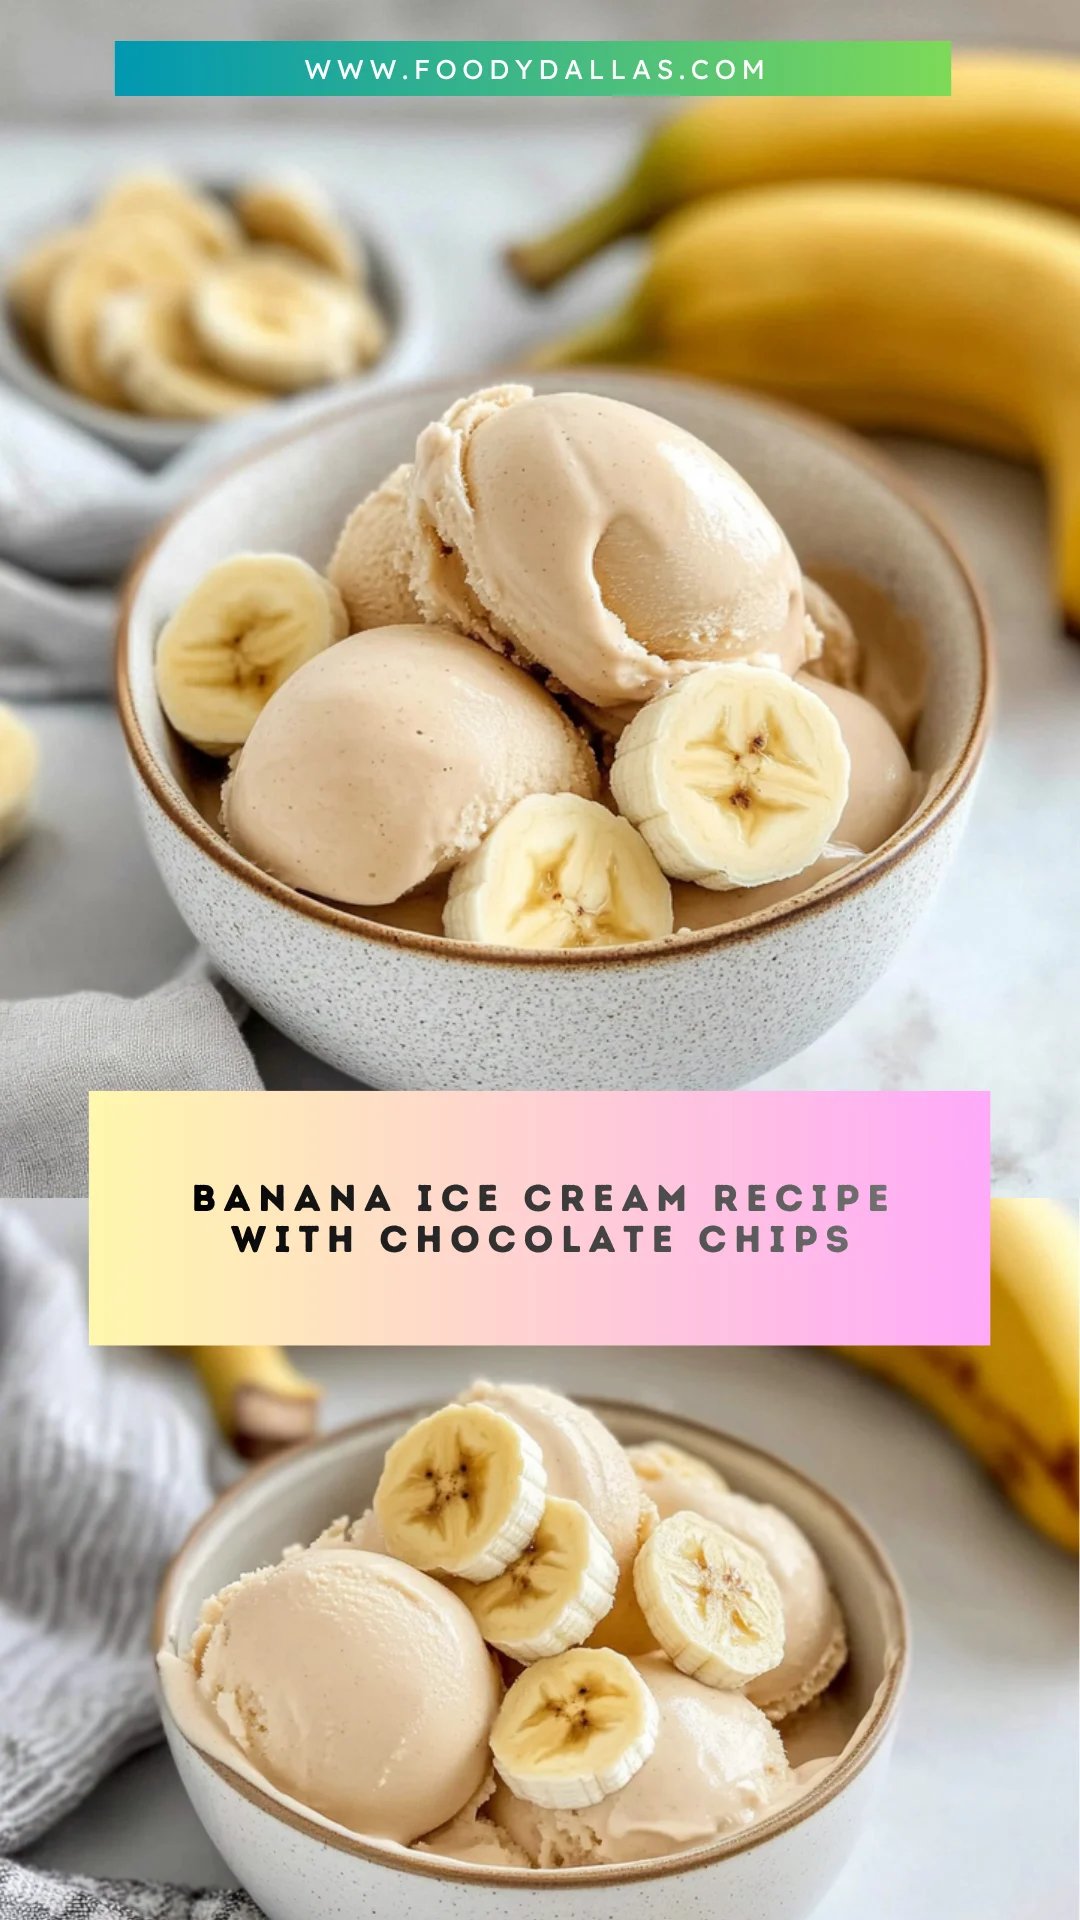
1. Slice the Bananas: Begin by slicing the 4 ripe bananas and placing them in a bowl. Drizzle with 1 tablespoon of lemon juice to prevent browning, then gently toss to coat.
2. Blend the Mixture: In a blender, combine the sliced bananas, 1 cup of coconut milk, and 1 tablespoon of honey. Blend until smooth and creamy, achieving a luscious texture that’s irresistible.
3. Chill the Mixture: Pour the banana mixture into a freezer-safe container and freeze for about 2-3 hours, or until firm. This is where the magic happens as it transforms into ice cream!
4. Churn the Ice Cream: Once the mixture is firm, transfer it to an ice cream maker and churn according to the manufacturer’s instructions until creamy. You’ll know it’s ready when it’s soft-serve consistency.
5. Serve: Scoop the banana ice cream into bowls and enjoy immediately for a soft treat, or freeze for an additional hour if you prefer a firmer texture.
Optional: Garnish with dark chocolate shavings or fresh berries for an extra touch!
Exact quantities are listed in the recipe card below.
Pro Tips for banana ice cream recipe
- Banana Ripeness: Use very ripe bananas for the sweetest flavor. Spotty bananas are perfect for a naturally sweet ice cream.
- Lemon Juice Magic: Don’t skip the lemon juice! It prevents browning and enhances the overall flavor of your banana ice cream recipe.
- Chill Thoroughly: Make sure to freeze the mixture for at least 2-3 hours. This step is crucial for achieving that creamy texture when churning.
- Blending Technique: Blend until completely smooth; small chunks can lead to a grainy texture in your finished banana ice cream recipe.
- Serving Texture: If you prefer a firmer ice cream, let it freeze an additional hour after churning before serving. Enjoy every scoop!
How to Store and Freeze banana ice cream recipe
- Fridge: Store any leftover banana ice cream recipe in an airtight container for up to 3 days. This keeps it creamy and fresh.
- Freezer: For longer storage, freeze the banana ice cream recipe in an airtight container. It can last up to 2 weeks; just allow it to soften at room temperature before scooping.
- Prevent Browning: If you have leftover sliced bananas, toss them with lemon juice before freezing to prevent browning and maintain flavor.
- Serving Tip: When ready to enjoy, let the banana ice cream recipe sit out for about 5-10 minutes to make scooping easier.
banana ice cream recipe Your Way
Feel free to get creative and customize this delightful treat to match your taste buds and dietary needs!
- Nutty Delight: Add 1/4 cup crushed nuts for a crunchy texture. Almonds or walnuts pair beautifully with the creamy base. This adds an exciting contrast that will make every bite interesting.
- Chocolate Swirl: Stir in 2 tablespoons of cocoa powder or melted dark chocolate for a rich twist. The chocolate complements the bananas perfectly, creating a luxurious dessert that feels indulgent yet healthy.
- Berry Blast: Mix in 1/2 cup of fresh or frozen berries before blending for a fruity burst. Strawberries or blueberries enhance the sweetness while adding vibrant color and nutrients to your ice cream.
- Spiced Up: Sprinkle in 1/2 teaspoon of cinnamon or nutmeg for a warm, aromatic flavor. This adds depth and warmth, making each scoop feel like a cozy hug on a chilly day.
- Mango Magic: Blend in 1/2 cup of frozen mango chunks for an exotic twist. The tropical flavor harmonizes wonderfully with bananas, creating a refreshing summer treat that’s hard to resist.
- Minty Fresh: Add 1/4 teaspoon of peppermint extract for a refreshing minty kick. This delightful addition brings an unexpected freshness that can elevate your dessert experience.
- Caramel Drizzle: Top with homemade caramel sauce before serving for extra sweetness. A drizzle over the creamy banana base creates an irresistible combination that feels like luxury in every scoop.
- Protein Boost: Mix in 1 scoop of your favorite protein powder during blending for added nutrition. This is perfect if you’re looking to make this dessert more filling while maintaining its deliciousness!
Make Ahead Options

If you love the idea of a creamy, refreshing dessert that you can prepare in advance, this banana ice cream recipe is perfect for meal prep! You can slice the ripe bananas and toss them with lemon juice to prevent browning up to 24 hours ahead of time. Additionally, the mixture of bananas, coconut milk, and honey can be blended and chilled in a freezer-safe container for up to 3 days before you churn it into ice cream. Just remember to pour the banana mixture into the freezer as soon as it’s ready to maintain its quality. When you’re ready to serve, simply churn it according to your ice cream maker’s instructions and enjoy this delightful treat at a moment’s notice!
banana ice cream recipe Questions Answered
What type of bananas should I use for this banana ice cream recipe?
Using ripe bananas is key to achieving the perfect sweetness and creamy texture in your banana ice cream. Look for bananas that are heavily speckled or even brown; they’re sweeter and will blend beautifully into a smooth mixture.
Can I use a different type of milk instead of coconut milk?
Absolutely! While coconut milk adds a delicious tropical flavor, you can substitute it with any milk of your choice, such as almond milk, oat milk, or even whole dairy milk. Just keep in mind that different milks may slightly alter the flavor and creaminess of your ice cream.
How long can I store my homemade banana ice cream?
Your delicious banana ice cream can be stored in the freezer for up to one month. Just make sure it’s in an airtight container to prevent freezer burn. If you notice it becoming too hard after freezing, let it sit at room temperature for a few minutes before scooping.
What if my banana ice cream is too hard after freezing?
If your banana ice cream is too firm after freezing, don’t worry! Simply transfer it to the refrigerator for about 10-15 minutes to soften it up before serving. This will make it easier to scoop and enjoy!
Can I make this banana ice cream vegan?
Yes! This recipe is easily adaptable for a vegan diet. Simply replace the honey with maple syrup, and you have a delicious vegan-friendly treat that everyone can enjoy without compromising on flavor.
How many servings does this recipe yield?
This banana ice cream recipe yields approximately 4 servings, making it perfect for sharing with family or indulging solo! Each serving contains about 150 calories, allowing you to enjoy a sweet treat without the guilt.
Banana Ice Cream
Ingredients
Method
- Slice the ripe bananas and place them in a bowl. Drizzle with lemon juice and toss to coat.
- In a blender, combine the sliced bananas, coconut milk, and honey. Blend until smooth and creamy.
- Pour the banana mixture into a freezer-safe container and freeze for about 2-3 hours, or until firm.
- Once the mixture is firm, transfer it to an ice cream maker and churn according to the manufacturer's instructions until creamy.
- Scoop the banana ice cream into bowls and enjoy immediately, or freeze for an additional hour for a firmer texture.