
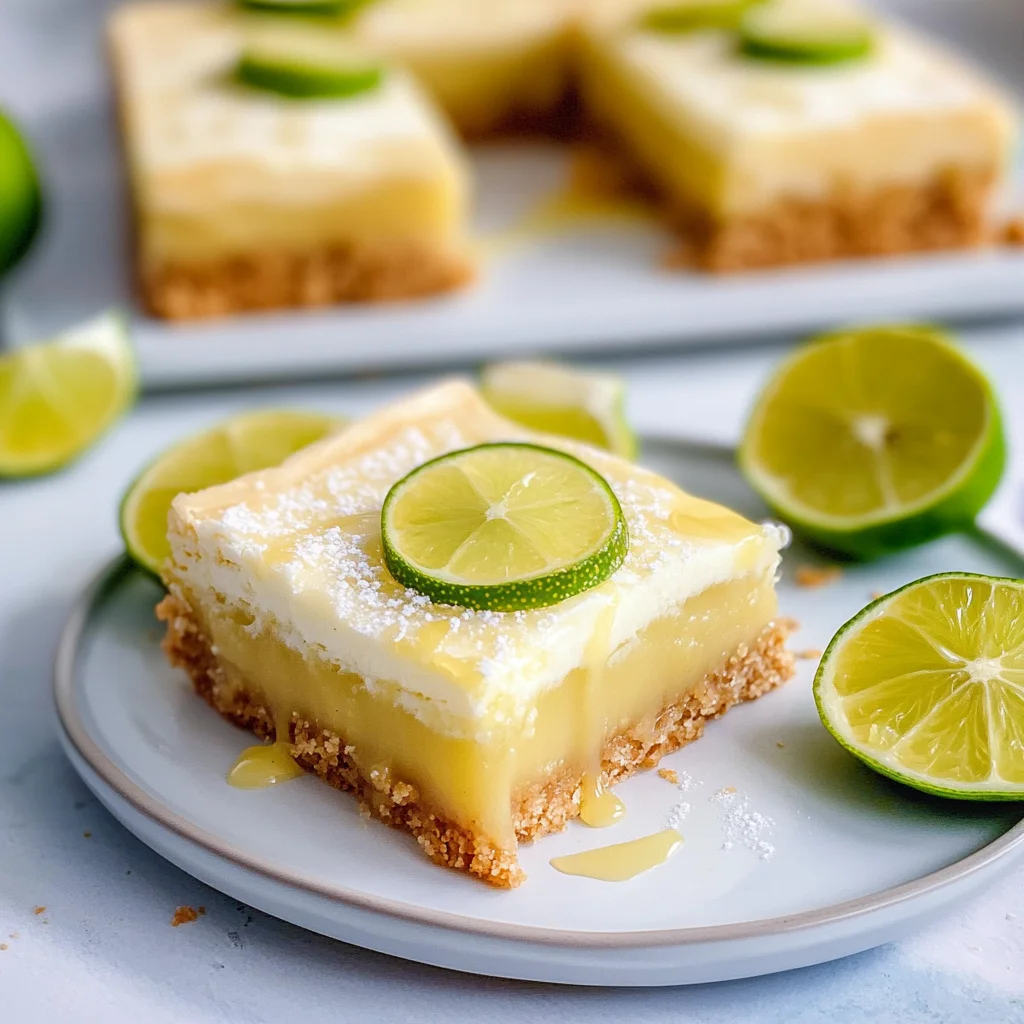
Imagine sinking your teeth into a luscious key lime bar, where the zesty tang of lime dances playfully on your palate, embraced by a buttery crust that crumbles delightfully with each bite. The aroma wafts through the air, hinting at a sun-soaked paradise, making it impossible to resist this bright and refreshing treat that’s just begging to be devoured.
These key lime bars hold a special place in my heart, transporting me back to warm summer afternoons spent with family, laughter echoing in the background as we savored every morsel. Whether it’s a backyard barbecue or a casual get-together with friends, these bars promise an unforgettable flavor experience that will leave everyone craving more.
Why Is key lime bars So Irresistibly Good?
Bright, zesty flavor: The fresh key lime juice and zest deliver a tangy punch that’s simply unforgettable.
Buttery crust: A rich, buttery base perfectly complements the smooth filling, creating a delightful contrast in every bite.
Quick preparation: With just 15 minutes of prep time, you’ll have these treats ready to bake in no time!
Crowd pleaser: Whether for a family gathering or a dinner party, these key lime bars are sure to impress your guests.
Versatile dessert: Enjoy them chilled or at room temperature—either way, they’re a refreshing addition to any dessert table!
key lime bars Ingredients
For the Crust
- 1 cup all-purpose flour – This forms the base of your key lime bars, giving them that delightful crumbly texture.
- 1/4 cup granulated sugar – Adds just the right amount of sweetness to balance the tangy filling.
- 1/2 cup unsalted butter (softened) – Ensures a rich, buttery flavor in every bite; make sure it’s softened for easy mixing.
- 1/4 teaspoon salt – Enhances the overall flavor, bringing out the sweetness and tartness beautifully.
For the Filling
- 2 large eggs – Provides structure and richness to your filling, making it smooth and creamy.
- 1 cup sweetened condensed milk – Adds creaminess and sweetness, creating that signature luscious texture in key lime bars.
- 1/2 cup fresh key lime juice (about 4-6 limes) – The star ingredient that gives these bars their irresistible tangy flavor.
- 1 teaspoon lime zest – Infuses a bright citrus aroma and taste, enhancing the overall lime experience.
- 1/4 teaspoon baking powder – Helps to give the filling a little lift while keeping it creamy.
For the Topping
- powdered sugar for dusting – A light sprinkle adds a touch of sweetness and an elegant finish to your key lime bars.
Step-by-Step key lime bars
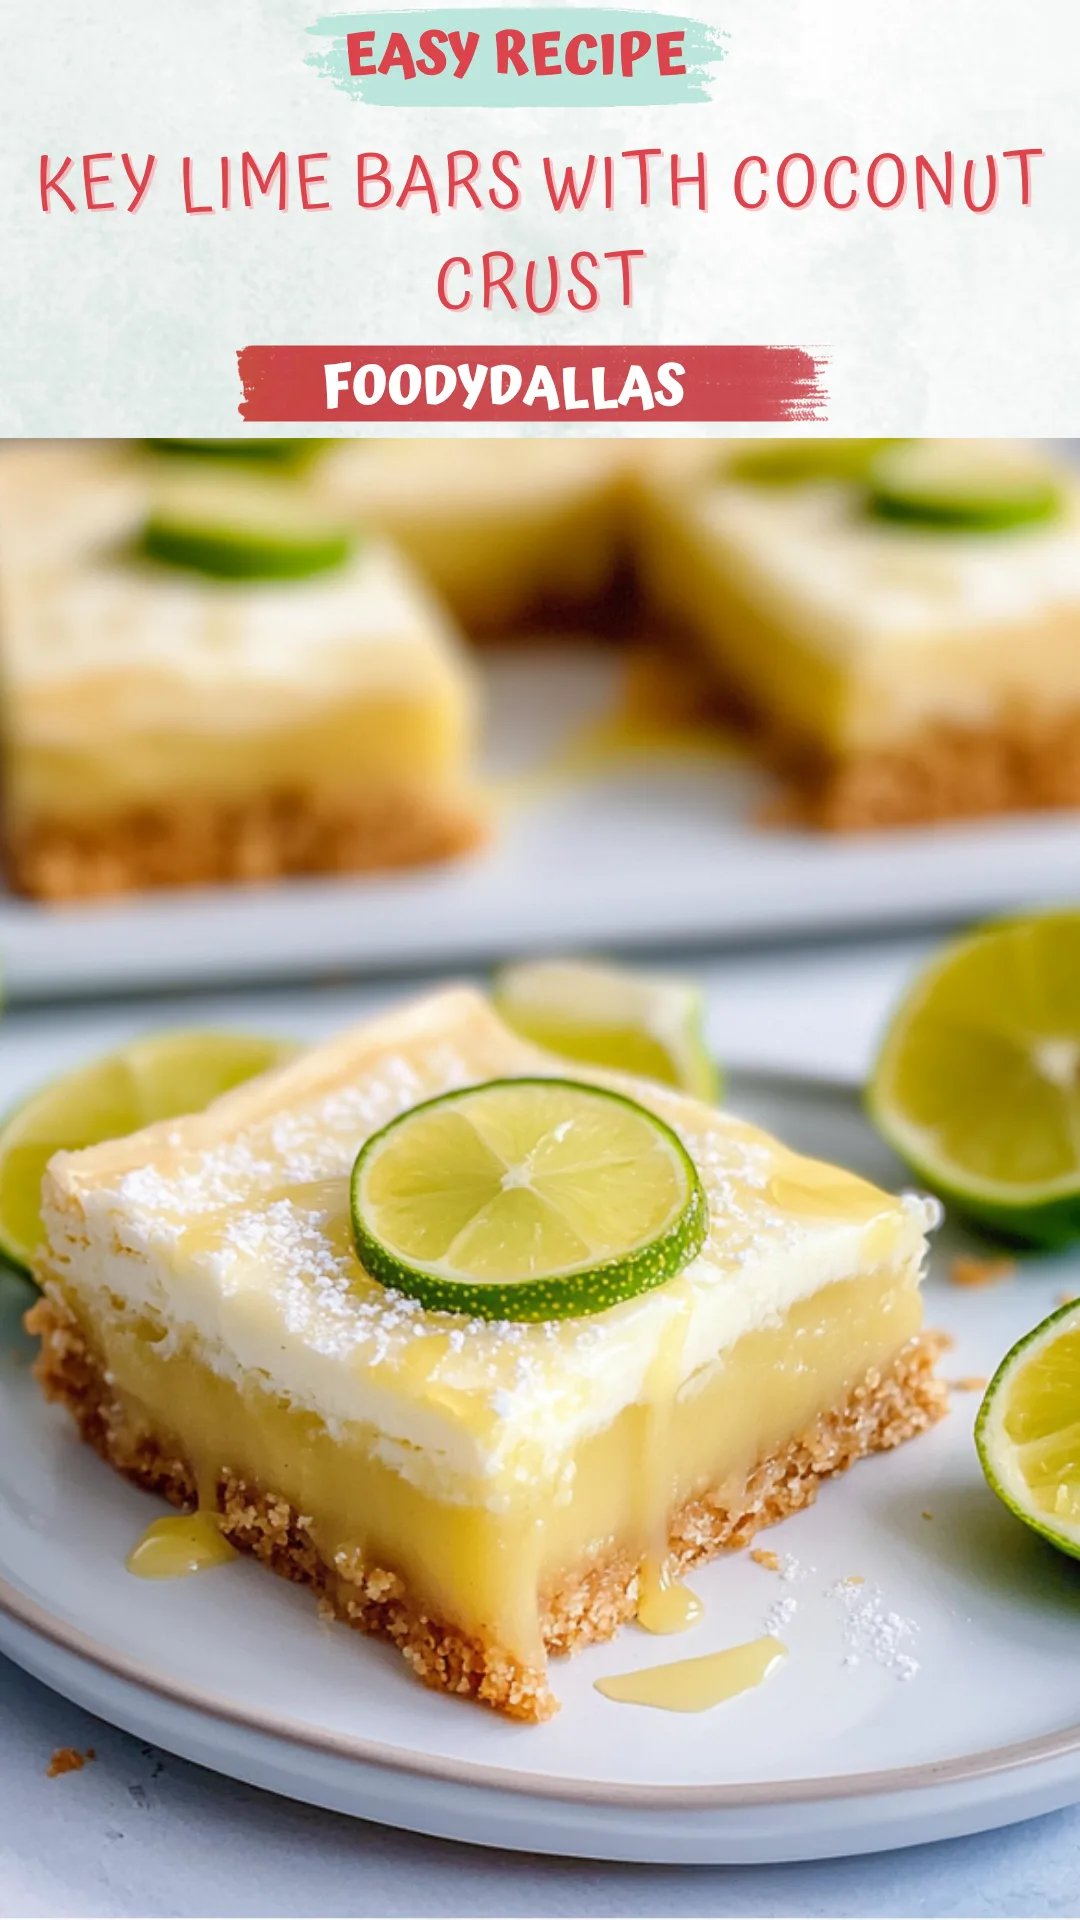
1. Preheat the oven: Begin by preheating your oven to 350°F (175°C). In a mixing bowl, combine 1 cup of all-purpose flour, 1/4 cup of granulated sugar, and 1/4 teaspoon of salt with 1/2 cup of softened unsalted butter. Mix until crumbly.
2. Press the crust: Firmly press this mixture into the bottom of a greased 9×9 inch baking pan. Bake for about 15 minutes or until it turns lightly golden, filling your kitchen with a warm aroma.
For the Filling:
3. Whisk together ingredients: In another bowl, whisk together 2 large eggs, 1 cup of sweetened condensed milk, 1/2 cup of fresh key lime juice (about 4-6 limes), 1 teaspoon of lime zest, and 1/4 teaspoon of baking powder until smooth and creamy.
4. Pour the filling: Gently pour this luscious filling over your baked crust and return it to the oven. Bake for an additional 10-15 minutes until set, creating a delightful contrast between the creamy filling and buttery base.
5. Cool and dust: Allow the key lime bars to cool completely in the pan. Once cooled, dust with powdered sugar before cutting into squares for a beautiful presentation!
Optional: Garnish with a slice of fresh lime for an extra pop of flavor.
Exact quantities are listed in the recipe card below.
Tips for the Best key lime bars
- Fresh Juice Matters: Use fresh key lime juice for a vibrant, tangy flavor. Bottled juice lacks the brightness that makes these bars special.
- Avoid Overbaking: Keep an eye on the filling; overbaking can lead to a rubbery texture. The center should be just set with a slight jiggle.
- Butter Softened: Ensure your butter is softened but not melted. This helps create a crumbly crust that holds together beautifully without becoming greasy.
- Cool Completely: Allow the bars to cool completely in the pan before cutting. This ensures clean slices and helps the filling firm up nicely.
- Zest Wisely: When zesting limes, avoid the bitter white pith. Just use the green outer layer for a bright citrus flavor without any bitterness.
How to Store and Freeze key lime bars
- Room Temperature: Enjoy your key lime bars fresh for up to 2 hours after baking. After that, store them in an airtight container at room temperature for up to 1 day.
- Fridge: For longer freshness, refrigerate your key lime bars in an airtight container for up to 5 days. This helps maintain their creamy texture and zesty flavor.
- Freezer: Freeze individual slices wrapped tightly in plastic wrap and then aluminum foil for up to 3 months. Thaw in the fridge before serving for the best taste.
- Reheating: If you prefer them slightly warm, pop the bars in a preheated oven at 350°F (175°C) for about 10 minutes, but serve chilled for that refreshing zing!
key lime bars Variations
Feel free to get creative and make these delightful treats your own with these fun twists!
- Gluten-Free: Substitute all-purpose flour with a 1:1 gluten-free baking blend for a delicious alternative. This way, everyone can enjoy the tangy goodness!
- Coconut Crust: Replace half the butter with melted coconut oil and add shredded coconut to the crust for a tropical twist. The coconut flavor beautifully complements the key lime filling.
- Graham Cracker Base: Swap the flour for crushed graham crackers for that classic dessert bar taste. This will give your key lime bars a delightful crunch and extra sweetness.
- Zesty Lime Kick: Add an extra teaspoon of lime zest to the filling for an intensified citrus burst. It will elevate the flavor profile and make every bite zing with freshness.
- Chocolate Drizzle: Melt some dark chocolate and drizzle it over the cooled bars before dusting with powdered sugar. The rich chocolate pairs surprisingly well with the tartness of key limes!
- Berry Infusion: Fold in fresh raspberries or blueberries into the filling for a fruity surprise. This adds color, flavor, and a lovely touch of sweetness to each slice.
- Nutty Crunch: Mix in finely chopped nuts like almonds or pecans into your crust for added texture. This gives your bars an irresistible crunch that contrasts beautifully with the creamy filling.
Make Ahead Options

Preparing key lime bars is an excellent choice for meal prep, allowing you to enjoy this delightful dessert without the last-minute rush. You can make the crust in advance by mixing 1 cup of all-purpose flour, 1/4 cup of granulated sugar, 1/2 cup of softened unsalted butter, and 1/4 teaspoon of salt until crumbly. Once pressed into your greased 9×9 inch baking pan and baked for 15 minutes until golden, it can be stored in the fridge for up to 3 days. The filling, made with 2 large eggs, 1 cup of sweetened condensed milk, and 1/2 cup of fresh key lime juice (about 4-6 limes), can also be whisked together ahead of time and kept in the refrigerator for up to 24 hours. When you’re ready to serve, simply pour the filling over the pre-baked crust and bake for an additional 10-15 minutes. Dust with powdered sugar right before cutting into squares for a fresh presentation. This way, you save time while still enjoying those luscious key lime bars!
key lime bars Recipe FAQs
What type of flour is best for the crust?
All-purpose flour works perfectly for the crust of these key lime bars, giving it a nice balance of structure and tenderness. If you’re looking for a gluten-free option, you can substitute with a 1: 1 gluten-free baking flour blend, but the texture may vary slightly.
Can I use bottled key lime juice instead of fresh?
While fresh key lime juice (about 4-6 limes) offers a vibrant flavor that really shines in this recipe, bottled key lime juice can be used in a pinch. Just be sure to choose a high-quality brand to maintain that tangy essence we all love!
How should I store leftover key lime bars?
Once cooled, you can store your key lime bars in an airtight container in the refrigerator for up to 5 days. This not only keeps them fresh but also enhances their flavor as they chill. Just remember to dust with powdered sugar right before serving!
Can I freeze key lime bars?
Yes! To freeze your key lime bars, allow them to cool completely and then cut them into squares. Wrap each piece tightly in plastic wrap and then place them in an airtight container or freezer bag. They’ll keep well for up to 3 months. When you’re ready to enjoy, simply thaw them in the fridge overnight.
What should I do if my filling doesn’t set properly?
If your filling hasn’t set after baking for 10-15 minutes, it might need a few extra minutes in the oven. Keep an eye on it; you’re looking for a slight jiggle in the center but firm edges. If it’s not quite there, bake another 2-3 minutes and check again.
How many servings does this recipe yield?
This delightful recipe makes about 4 generous servings, perfect for sharing with family or friends after dinner. Each serving contains approximately 250 calories, making it a sweet treat that’s manageable for dessert lovers!
Key Lime Bars
Ingredients
Method
- Preheat the oven to 350°F (175°C). In a mixing bowl, combine flour, sugar, salt, and softened butter. Mix until crumbly.
- Press the mixture into the bottom of a greased 9x9 inch baking pan. Bake for 15 minutes until lightly golden.
- In another bowl, whisk together the eggs, sweetened condensed milk, key lime juice, lime zest, and baking powder until smooth.
- Pour the filling over the baked crust and return to the oven. Bake for an additional 10-15 minutes until set.
- Allow the bars to cool completely in the pan. Dust with powdered sugar before cutting into squares.