
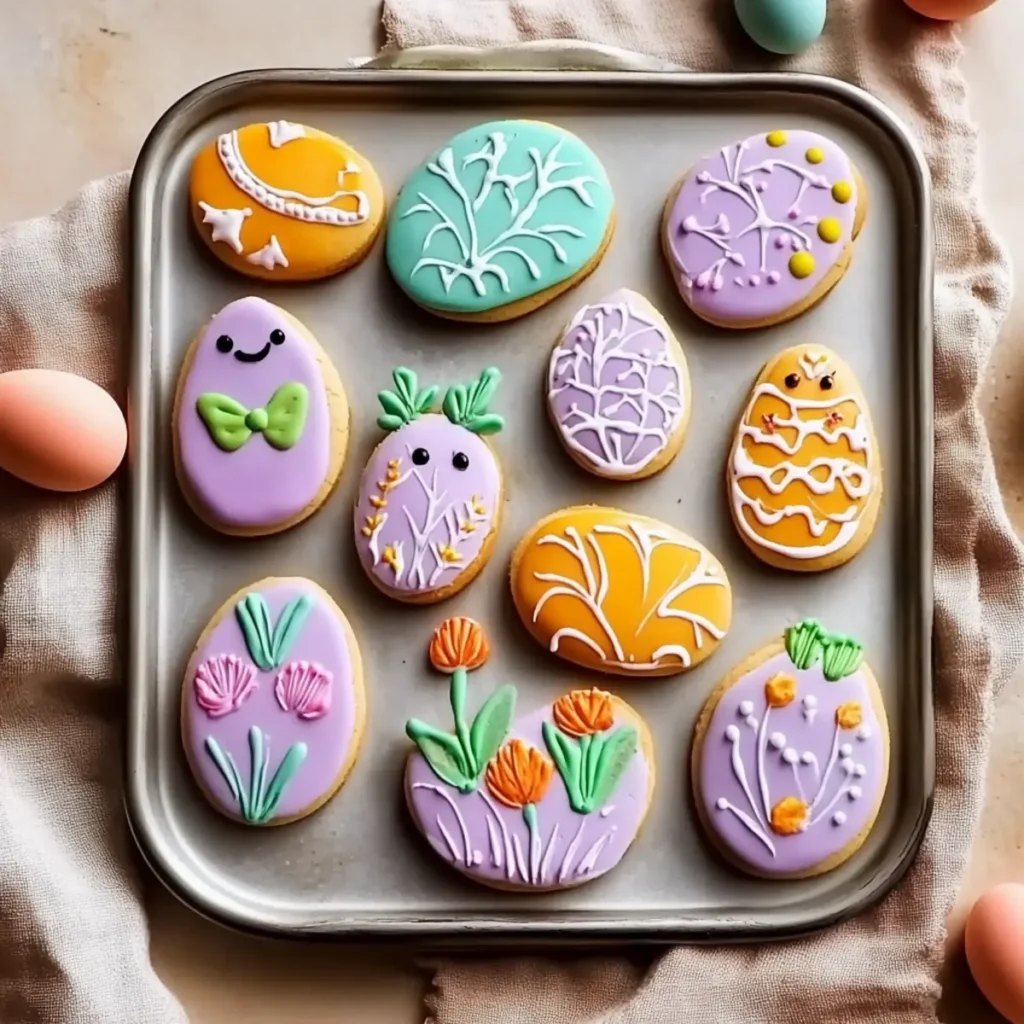
Sometimes, life calls for a sprinkle of joy and a dash of creativity, especially when the Easter season rolls around. This is precisely when the magic of **Fun and Easy Hand Painted Cookies for Your Easter Table Recipe** comes into play. Imagine soft, buttery cookies adorned with colorful icing, each bite a playful mix of sweetness and whimsical fun, perfectly crafted to brighten up any festive gathering.
I’ve always adored Easter for its vibrant celebrations and the joyful chaos it brings. Ugly bunny costumes, egg hunts, and of course, the endless possibilities of sugar-coated treats! These cookies not only taste delightful but also make for a handmade touch that can turn any table into a masterpiece. Whether you’re crafting them for family or friends, they add that special something to your festivities.
Why You'll Love This Fun and Easy Hand Painted Cookies for Your Easter Table Recipe
- This incredible Fun and Easy Hand Painted Cookies for Your Easter Table Recipe transforms simple everyday ingredients into restaurant-quality flavors that will blow your mind completely.
- Foolproof recipe techniques guarantee perfect results every single time, making even novice cooks feel like professional chefs instantly.
- Stunning visual appeal with gorgeous colors and mouthwatering aromas creates the ultimate Instagram-worthy dish for any special occasion.
- Endlessly adaptable for different dietary needs while working beautifully for meal prep, date nights, or entertaining large groups effortlessly.
Ingredients for Fun and Easy Hand Painted Cookies for Your Easter Table Recipe
Here’s what you’ll need to make this delicious Fun and Easy Hand Painted Cookies for Your Easter Table Recipe:
2 and 1/4 cups all-purpose flour – The backbone of your cookies, this flour ensures a soft and chewy texture that holds up beautifully when decorated.
1/2 teaspoon baking powder – A key ingredient for that perfect lift in your cookies; it helps them puff up nicely as they bake.
1/4 teaspoon salt – Just a pinch to balance the sweetness and enhance the flavors of your cookies.
3/4 cup unsalted butter – Make sure it’s softened to room temperature for easy creaming with sugar, leading to the fluffiest cookies ever!
3/4 cup granulated sugar – This classic sweetener gives the cookies their delightful sweetness and complements the icing perfectly.
1 large egg – This not only binds the ingredients but also adds richness and moisture to each delightful bite.
2 teaspoons pure vanilla extract – For that lovely aroma and warm flavor that makes these cookies taste like home.
1/2 teaspoon almond extract – Just a whisper of nuttiness to elevate the flavor profile and add a unique twist.
Royal icing or easy cookie glaze icing – The best choice for decorating; it sets nicely and allows for intricate designs.
Gel food coloring – Regular food coloring will not provide the vibrancy you need for bright and cheerful designs.
Sanding sugar sprinkles – Perfect for adding a little shimmer and sparkle to make your cookies pop.
Mini marshmallows (halved) – These can be used for decorating; imagine little bunny tails or fluffy clouds drizzling in sweetness!
How to Make Fun and Easy Hand Painted Cookies for Your Easter Table Recipe
Follow these simple steps to prepare this delicious Fun and Easy Hand Painted Cookies for Your Easter Table Recipe:
Step 1: Mix the Dry Ingredients
In a medium bowl, whisk together the all-purpose flour, baking powder, and salt until well combined. This step is crucial as it ensures even distribution of the leavening agent for perfect cookies.
Step 2: Cream the Butter and Sugar
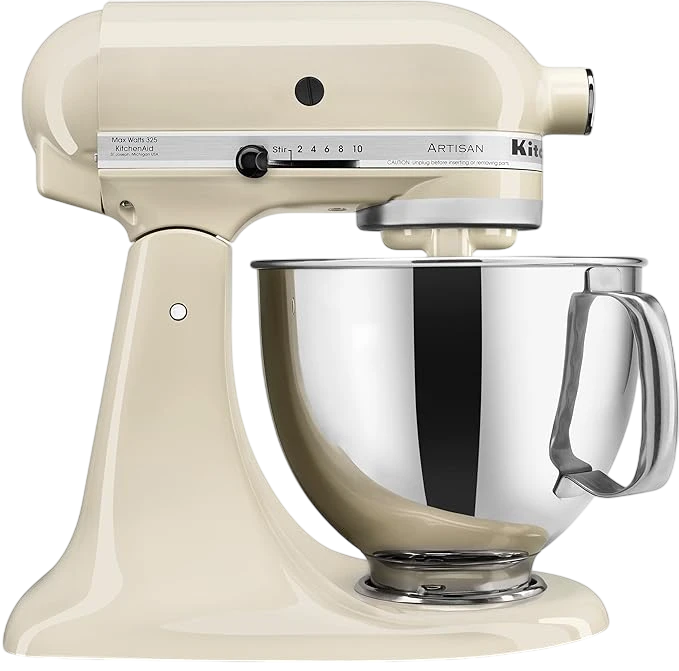
In a large mixing bowl, cream the softened butter and granulated sugar together until light and fluffy. It should look like a dreamy cloud after about 2-3 minutes of beating.
Step 3: Add the Wet Ingredients
Beat in the egg, vanilla extract, and almond extract into the creamy butter and sugar mixture. Mix until the batter is smooth and all ingredients are well incorporated, swirling with joyous abandon!
Step 4: Combine the Mixtures
Gradually add the dry ingredients to the butter mixture. Use a spatula or mixer on low speed until the dough is just combined. Don’t overmix; the last thing you want is a tough cookie.
Step 5: Chill the Dough
Cover the bowl with plastic wrap and chill the dough in the refrigerator for at least 1 hour. This helps the cookies to maintain their shape during baking and makes rolling them easier.
Step 6: Roll, Cut & Bake!
Preheat your oven to 350°F (175°C). On a floured surface, roll out the chilled dough to about 1/4 inch thickness. Cut your desired shapes and place them on a baking sheet lined with parchment paper. Bake for 10-12 minutes until the edges turn a light golden brown. Allow them to cool before decorating!
Now, gather your royal icing, gel food colors, and imagination! The final touch of decorating will transform your freshly baked cookies into whimsical works of art for your Easter table. Enjoy crafting them and even more delight in sharing them. You’ve turned a recipe into a sweet memory, perfect for any spring gathering!
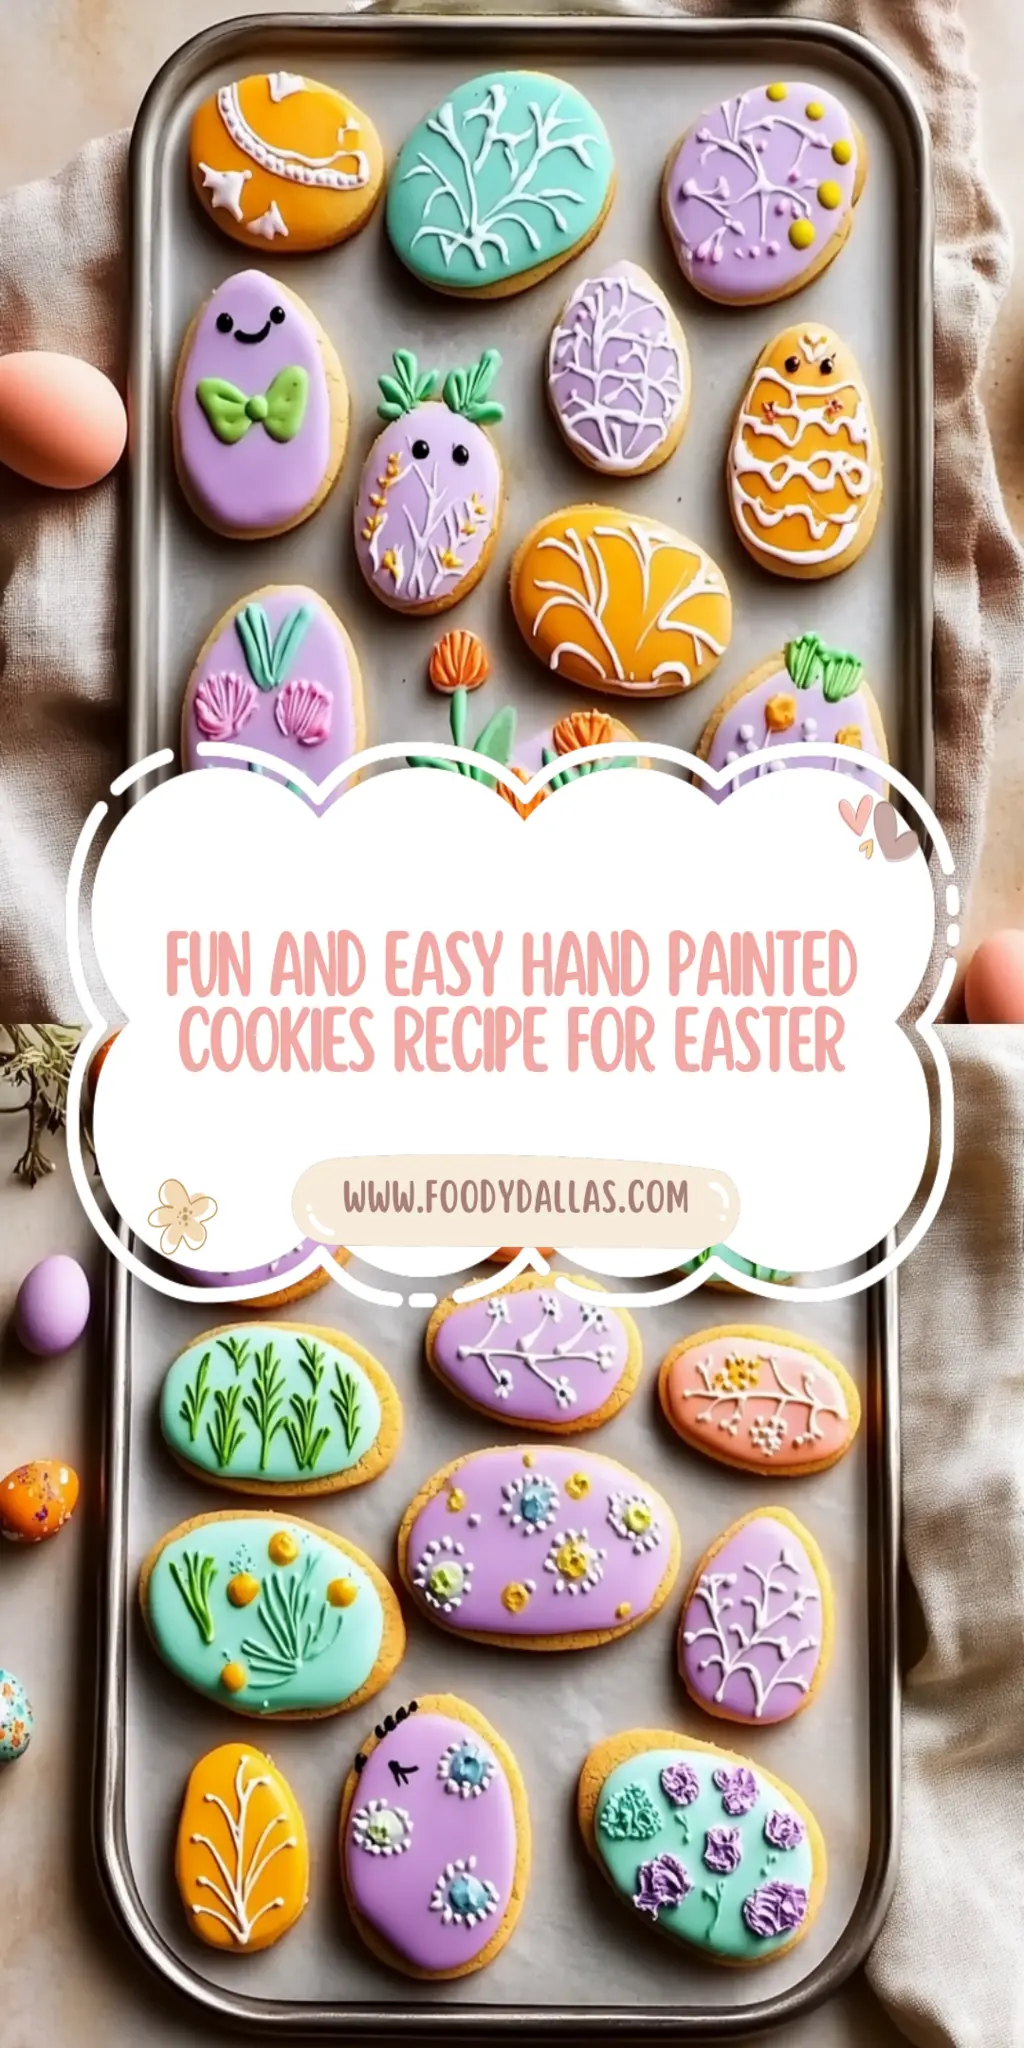
You Must Know About Fun and Easy Hand Painted Cookies for Your Easter Table Recipe
- This showstopping Fun and Easy Hand Painted Cookies for Your Easter Table Recipe delivers restaurant-quality results using simple ingredients you probably already have at home.
- The perfect balance of textures and flavors creates an unforgettable dining experience that will have everyone asking for seconds.
- Picture-perfect presentation with vibrant colors makes this dish absolutely Instagram-worthy and guaranteed to impress any dinner guest.
- Incredibly versatile recipe that works beautifully for weeknight dinners, meal prep, special occasions, or even outdoor entertaining sessions.
Perfecting Fun and Easy Hand Painted Cookies for Your Easter Table Recipe Cooking Process
To achieve the best results, start by mixing your dry ingredients first, followed by creaming the butter and sugar. Allow the dough to chill while your oven preheats for that perfect cookie texture.
Add Your Touch to Fun and Easy Hand Painted Cookies for Your Easter Table Recipe
Feel free to swap out the almond extract for orange or lemon zest for a citrusy kick. You can also adjust the food coloring to match any theme or occasion you desire.
Storing & Reheating Fun and Easy Hand Painted Cookies for Your Easter Table Recipe
Store the cookies in an airtight container at room temperature for up to a week. If you’d like them warm, simply pop them in the microwave for 5-10 seconds.
Chef's Helpful Tips for Fun and Easy Hand Painted Cookies for Your Easter Table Recipe
- This professional-quality Fun and Easy Hand Painted Cookies for Your Easter Table Recipe relies on precise timing and temperature control to achieve restaurant-standard results consistently.
- Master the art of mise en place by prepping all ingredients beforehand, ensuring smooth execution and preventing any last-minute cooking disasters.
- The secret lies in layering flavors throughout the cooking process rather than seasoning only at the end for maximum depth.
- Pro tip: let the finished dish rest for optimal texture and flavor development before serving to hungry guests waiting eagerly.
Sometimes, I can still hear my cousin’s ecstatic giggle when she took her first bite of these cookies. The delight was palpable, making the effort well worth it and reaffirming how simple ingredients can create memorable moments.
FAQs About Fun and Easy Hand Painted Cookies for Your Easter Table Recipe
What is Fun and Easy Hand Painted Cookies for Your Easter Table Recipe?
The “Fun and Easy Hand Painted Cookies for Your Easter Table Recipe” is a delightful way to infuse creativity into your holiday baking. Featuring vibrant colors and intricate designs, these cookies make an impressive centerpiece for your Easter celebration. With a cookie base that is both soft and chewy, they’re not just beautiful but also delicious. Using simple ingredients, you can easily craft these edible masterpieces, making them perfect for gatherings, gifts, or simply enjoying with family. The fun part? You can unleash your imagination with different shapes and colors!
What are the main ingredients in this cookie recipe?
The main ingredients for the Fun and Easy Hand Painted Cookies for Your Easter Table Recipe include all-purpose flour, unsalted butter, granulated sugar, and an egg. Additionally, you’ll need baking powder, salt, pure vanilla, and almond extracts for flavor. The pièce de résistance is the decoration: royal icing or glaze, gel food coloring for vibrant designs, and fun additions like sanding sugar sprinkles and halved mini marshmallows. These ingredients together create a delightful cookie that’s perfect for your special occasion.
How can I customize the Fun and Easy Hand Painted Cookies?
Customization is key when making Fun and Easy Hand Painted Cookies for Your Easter Table Recipe. You can easily swap out the almond extract for lemon or orange zest to give the cookies a unique citrus twist. Think about the season or theme – pastel colors for Easter or bright colors for a summer party! You can also experiment with the shapes, using cookie cutters for Easter eggs, bunnies, or flowers, adding different toppings or even incorporating chocolate pieces or sprinkles for extra flair.
How do I store the cookies after making them?
After baking, allow the Fun and Easy Hand Painted Cookies for Your Easter Table Recipe to cool completely before storing. Keep them in an airtight container at room temperature for up to a week. If you prefer them warm, you can gently reheat them in the microwave for about 5-10 seconds. Just be careful not to overheat them, or they’ll lose their delightful texture. Well-stored cookies maintain their flavor and softness, making them the perfect treat for days to come!
Conclusion for Fun and Easy Hand Painted Cookies for Your Easter Table Recipe
In conclusion, the Fun and Easy Hand Painted Cookies for Your Easter Table Recipe stands out as a joyful baking adventure that combines simplicity with creativity. With readily available ingredients and a straightforward process, you can impress your guests with stunning cookie art. Whether you stick to classic designs or explore your artistic side, these cookies will surely bring smiles to your loved ones. So gather your loved ones and enjoy the colorful experience of cookie decorating this Easter!
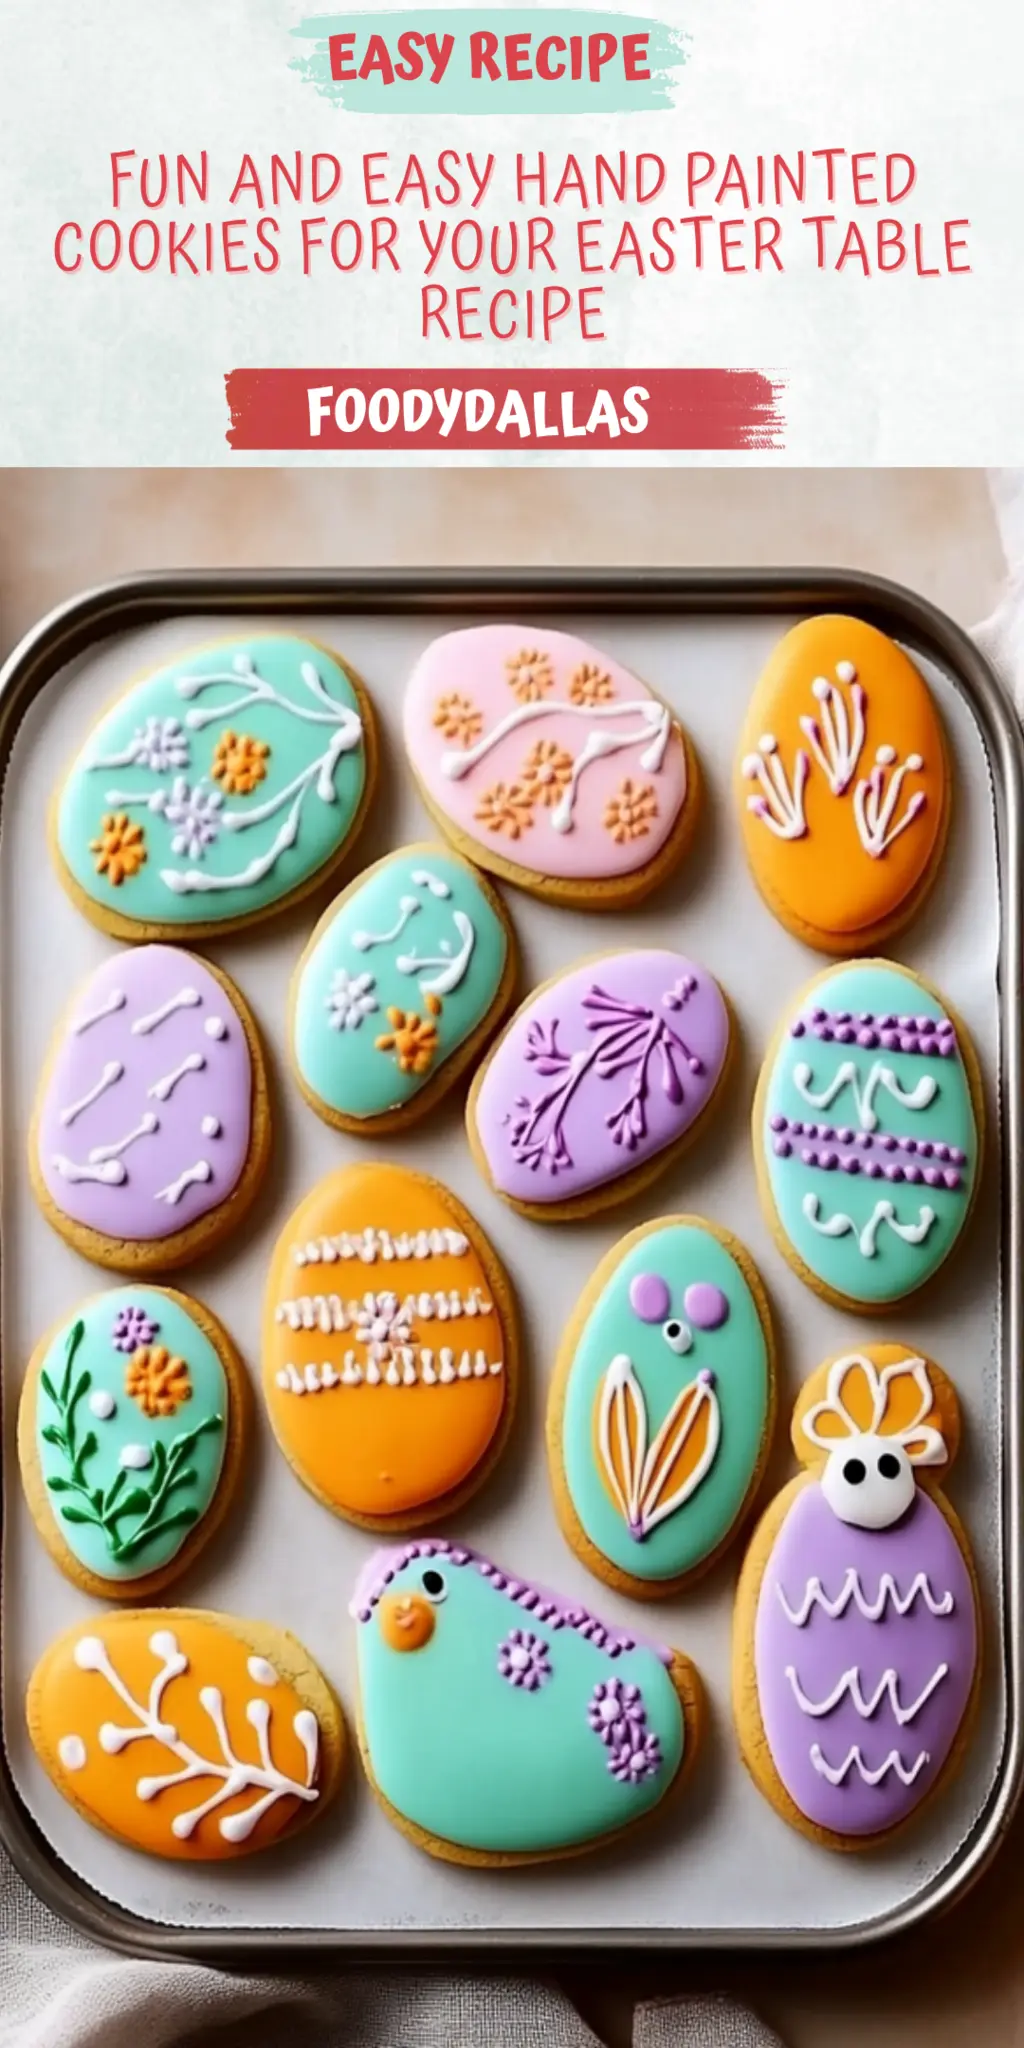
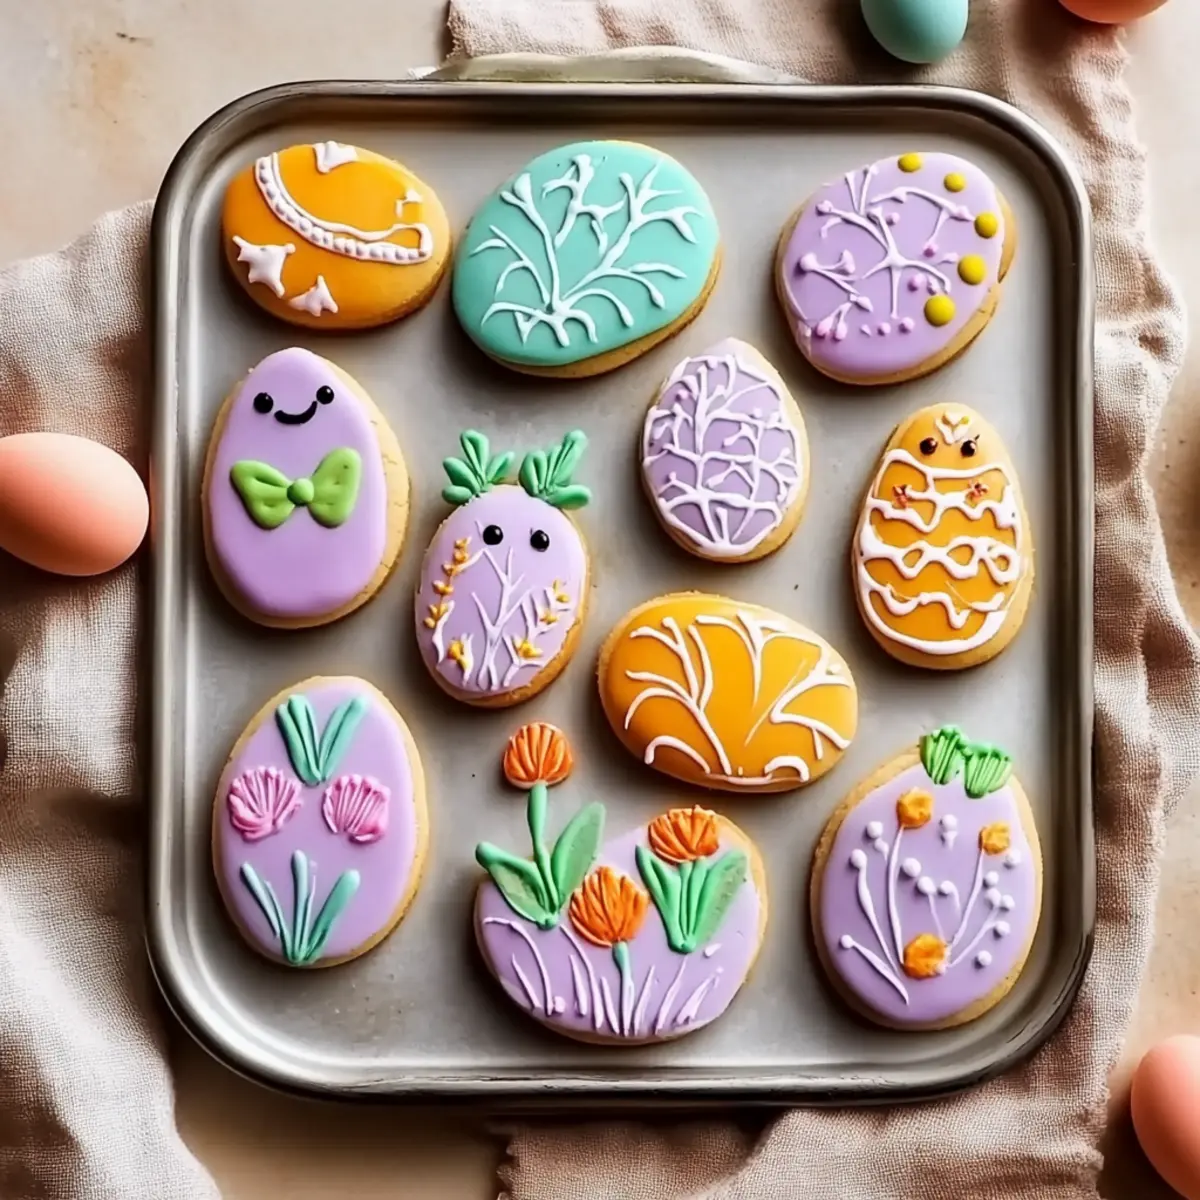
Fun and Easy Hand Painted Cookies for Your Easter Table Recipe
Ingredients
Equipment
Method
- Combine flour, baking powder, and salt in a bowl.
- In a separate bowl, cream together the softened butter and granulated sugar until light and fluffy.
- Beat in the egg, vanilla extract, and almond extract, mixing until well combined.
- Gradually add the dry ingredients to the wet ingredients, mixing until just combined.
- Chill the dough for at least 1 hour.
- Preheat the oven to 350°F (175°C).
- Roll out the chilled dough on a floured surface to about 1/4 inch thickness.
- Cut out desired shapes and place them on a baking sheet.
- Bake for 10-12 minutes until lightly golden.
- Allow cookies to cool before decorating with royal icing, gel food coloring, sanding sugar sprinkles, and mini marshmallows.